
Navigating the creative landscape of video editing can be daunting for beginners. CapCut, with its user-friendly interface and robust features, stands out as an accessible yet powerful tool for creators looking to bring their visions to life. This article provides a comprehensive step-by-step guide to mastering the basics of CapCut, from starting a new project to understanding the layout and importing footage.
Dive into the world of video editing with our beginner’s guide to CapCut. Learn the essentials of starting a new project, importing footage, and navigating the interface step by step.
Introduction to CapCut
CapCut, a comprehensive video editing app, offers a wide array of tools and features tailored for both novice and experienced editors. Its intuitive design and powerful functionality make it a go-to choice for creating engaging video content. This guide will navigate you through the essential steps to kickstart your video editing journey with CapCut.
Starting a New Project in CapCut
Step 1: Opening CapCut and Initiating a New Project
To begin, open the CapCut app on your device. The homepage features a prominent ‘New Project’ button. Tapping on this button will initiate a new canvas where your creative process begins.
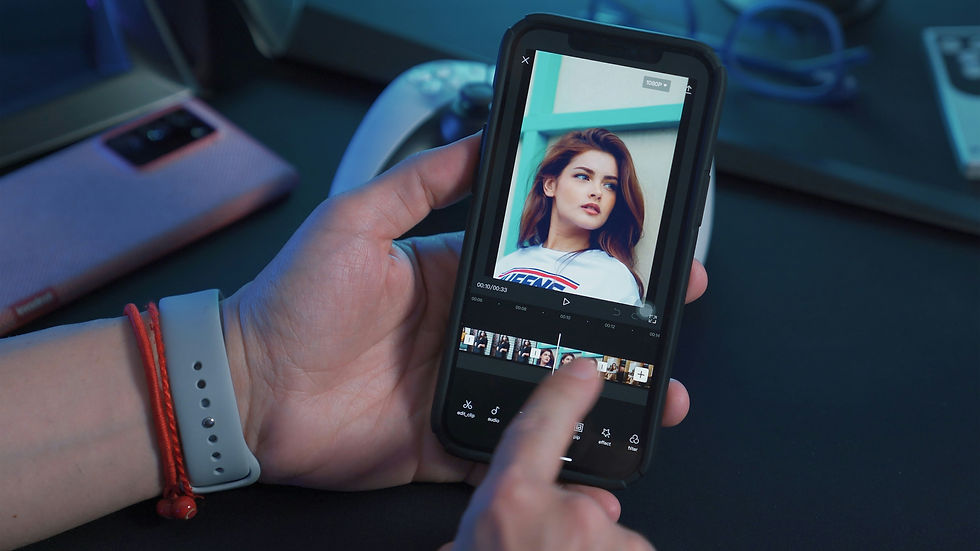
Step 2: Understanding the Project Interface
Upon starting a new project, you’ll be greeted by the editing timeline. This area is where you’ll arrange your video clips, add transitions, and fine-tune your creation. Familiarize yourself with the layout, noting the playhead for scrubbing through footage and the toolbar for accessing editing tools.
Importing Footage into CapCut
Step 3: Accessing Your Media Library
To import footage, tap on the ‘Add’ button located in the bottom left corner of the screen. This action opens your device’s media library, allowing you to select video clips, images, and audio files for your project.
Step 4: Selecting and Importing Files
Browse through your media and select the items you wish to include in your project. After making your selections, tap ‘Add’ to import them into your timeline. You can then rearrange clips by dragging and dropping them to your desired order.
Navigating the CapCut Interface
Understanding the Editing Tools
CapCut’s interface is equipped with a range of editing tools positioned around the timeline. These include options for trimming clips, adding text and stickers, implementing effects, and more. Explore each tool to understand its functionality and how it can enhance your video.
Utilizing Advanced Features
Beyond the basics, CapCut offers advanced features like keyframe animation, color grading, and voiceovers. Access these by selecting a clip and choosing the corresponding tool from the toolbar. Experimenting with these features can elevate your video’s production value.
FAQ
Q: Is CapCut suitable for beginners? A: Absolutely! CapCut’s user-friendly interface and comprehensive tutorials make it an ideal choice for beginners.
Q: Can I add music to my videos in CapCut? A: Yes, CapCut provides an extensive library of music and sound effects that you can add to your videos.
Q: How do I export my finished video in CapCut? A: Once you’re satisfied with your edit, tap the ‘Export’ button in the top right corner. Choose your preferred resolution and frame rate, then save the video to your device or share it directly to social media.
Conclusion
CapCut demystifies video editing for beginners, offering an intuitive platform to express creativity. By following this guide, you’ve taken the first steps toward mastering the basics of this powerful editing tool. Continue exploring CapCut’s features and functionalities to unlock your video editing potential.
Comments